Microsoft just released a new Azure Feature Pack for SSIS with ADLS Connectivity. What's new?
 |
| Azure Data Lake Store File System Task |
It contains four new items and a new connection manager:
- Azure Data Lake Store File System Task
- Foreach ADLS File Enumerator
- Azure Data Lake Store Source
- Azure Data Lake Store Destination
Azure Data Lake Store File System Task
This task only allows you to upload or download files to the Azure Data Lake Store. This is similar to the Azure Blob Upload / Download Task. In the near future new operations will be added. A delete file or delete folder would be a handy addition
1) Start
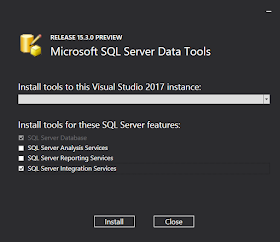
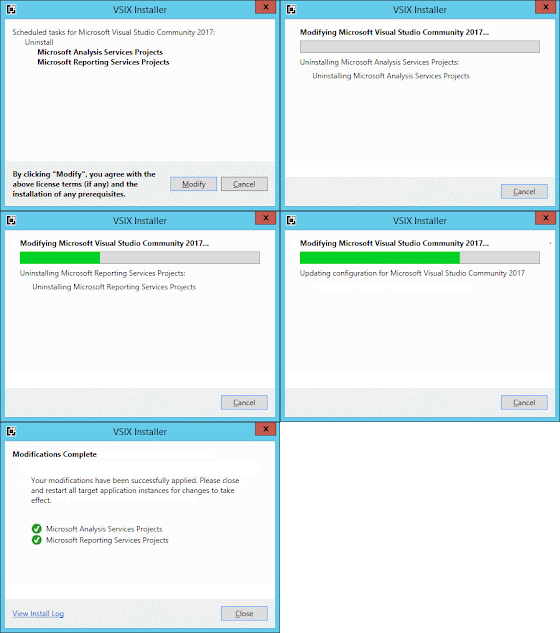
First download and install the new Azure Feature Pack. Then check the Azure Folder in the SSIS Toolbox and drag the Azure Data Lake Store File System Task to the surface. Give it a suitable name.
 |
| Azure Data Lake Store File System Task |
2) Operation and source
Edit the new task and select an Operation. For this example I will use the CopyToADLS operation. Then we first need to specify where the files are located on the local machine. This is a hardcoded path but can be overwritten with an expression. The FileNamePattern is a wildcard with ? or *. I use *.csv to upload all csv files in that folder. SearchRecursively allows you to find files in subfolders.
 |
| Specify local source |
3) Destination - Connection manager
Next we need to create a new ADLS connection manager or select an existing one.
 |
| ADLS Connection Manager |
As host you can use the URL property from the ADLS Overview page. Go to the Azure Portal and copy that URL
 |
| URL = ADLS Host |
For this example I will use the easier Authentication: Azure AD User Identity. It uses you email address and password from Azure. The Azure AD Service Identity will be handled in a later post.
 |
| ADLS Connection Manager |
When hitting OK or Test Connection it will open an Azure Login page, where you need to login and confirm that SSIS can connect to that ADLS.
4) Destination - ADLS folder
 |
| Data Explorer |
 |
| Specify Folder |
The FileExpiry option lets you specify the data that will be used the expire the files in ADLS. You can leave it empty to never expire.
5) The result
Now run the task/package to see the result. Use Data Explorer in ADLS to see the actual result.
 |
| Data Explorer |
Foreach ADLS File Enumerator
The Foreach ADLS File Enumerator is a new enumerator for the Foreach Loop Container. It allows you to loop through an ADLS folder and return the paths of the files. It is very similar to the Azure Blob Enumerator. You can use this enumerator with the Azure Data Lake Store Source in the Data Flow Task.
1) Select Enumerator
When you select the ADLS File Enumerator. You need to specify the Connection Manager (see above, step 3 of task). The remote folder (use the Data Explorer to find an existing folder). And then the wildcard and the Search recursive option.
 |
| Collection |
2) Variable Mappings
In the Variable Mappings pane you need to map the first item of the collection (zero based) to an SSIS string variable.
 |
| Variable Mappings |
3) The Result
To show the content of the variable during execution, I added a simple Script Task and a little C# code: MessageBox.Show(Dts.Variables["User::filepath"].Value.ToString());
 |
| MessageBox.Show |
C) Azure Data Lake Store Source
This allows you to use files from the Azure Data Lake Store as a source in SSIS. Again very similar to the Azure Blob Source.
1) Edit Source
Drag the Azure Data Lake Store Source to the surface and give it a suitable name. Then edit the source and specify the connection manager, File Path and format. You cannot specify the data type or size. In this first test every thing became (DT_WSTR,100).
 |
| Azure Data Lake Store Source |
2) The Result
To test the result (with a very small file) I added a dummy Derived Column and a Data Viewer.
 |
| Azure Data Lake Store Source |
D) Azure Data Lake Store Destination
This allows you to stream your Data Flow Task data to Azure Data Lake Store. Again very similar to the Azure Blob Destination.
1) Edit Destination
Add a Azure Data Lake Store Destination after your source or transformation and give it a suitable name. You can specify the connection manager, file path and the file format option.
 |
| ADLS destination - test3.csv |
2) The Result
To test the result run the package and open the Data Explorer in ADLS to see the result
 |
| Data Explorer |
Conclusion
Much needed ADLS extension for the Azure Feature Pack, but nothing spectacular compared to the Blob Storage items in this feature pack. Hopefully the Azure Data Lake Store File System Task will soon be extended with new actions and perhaps they could also introduce the Azure Blob Storage File System Task.


